

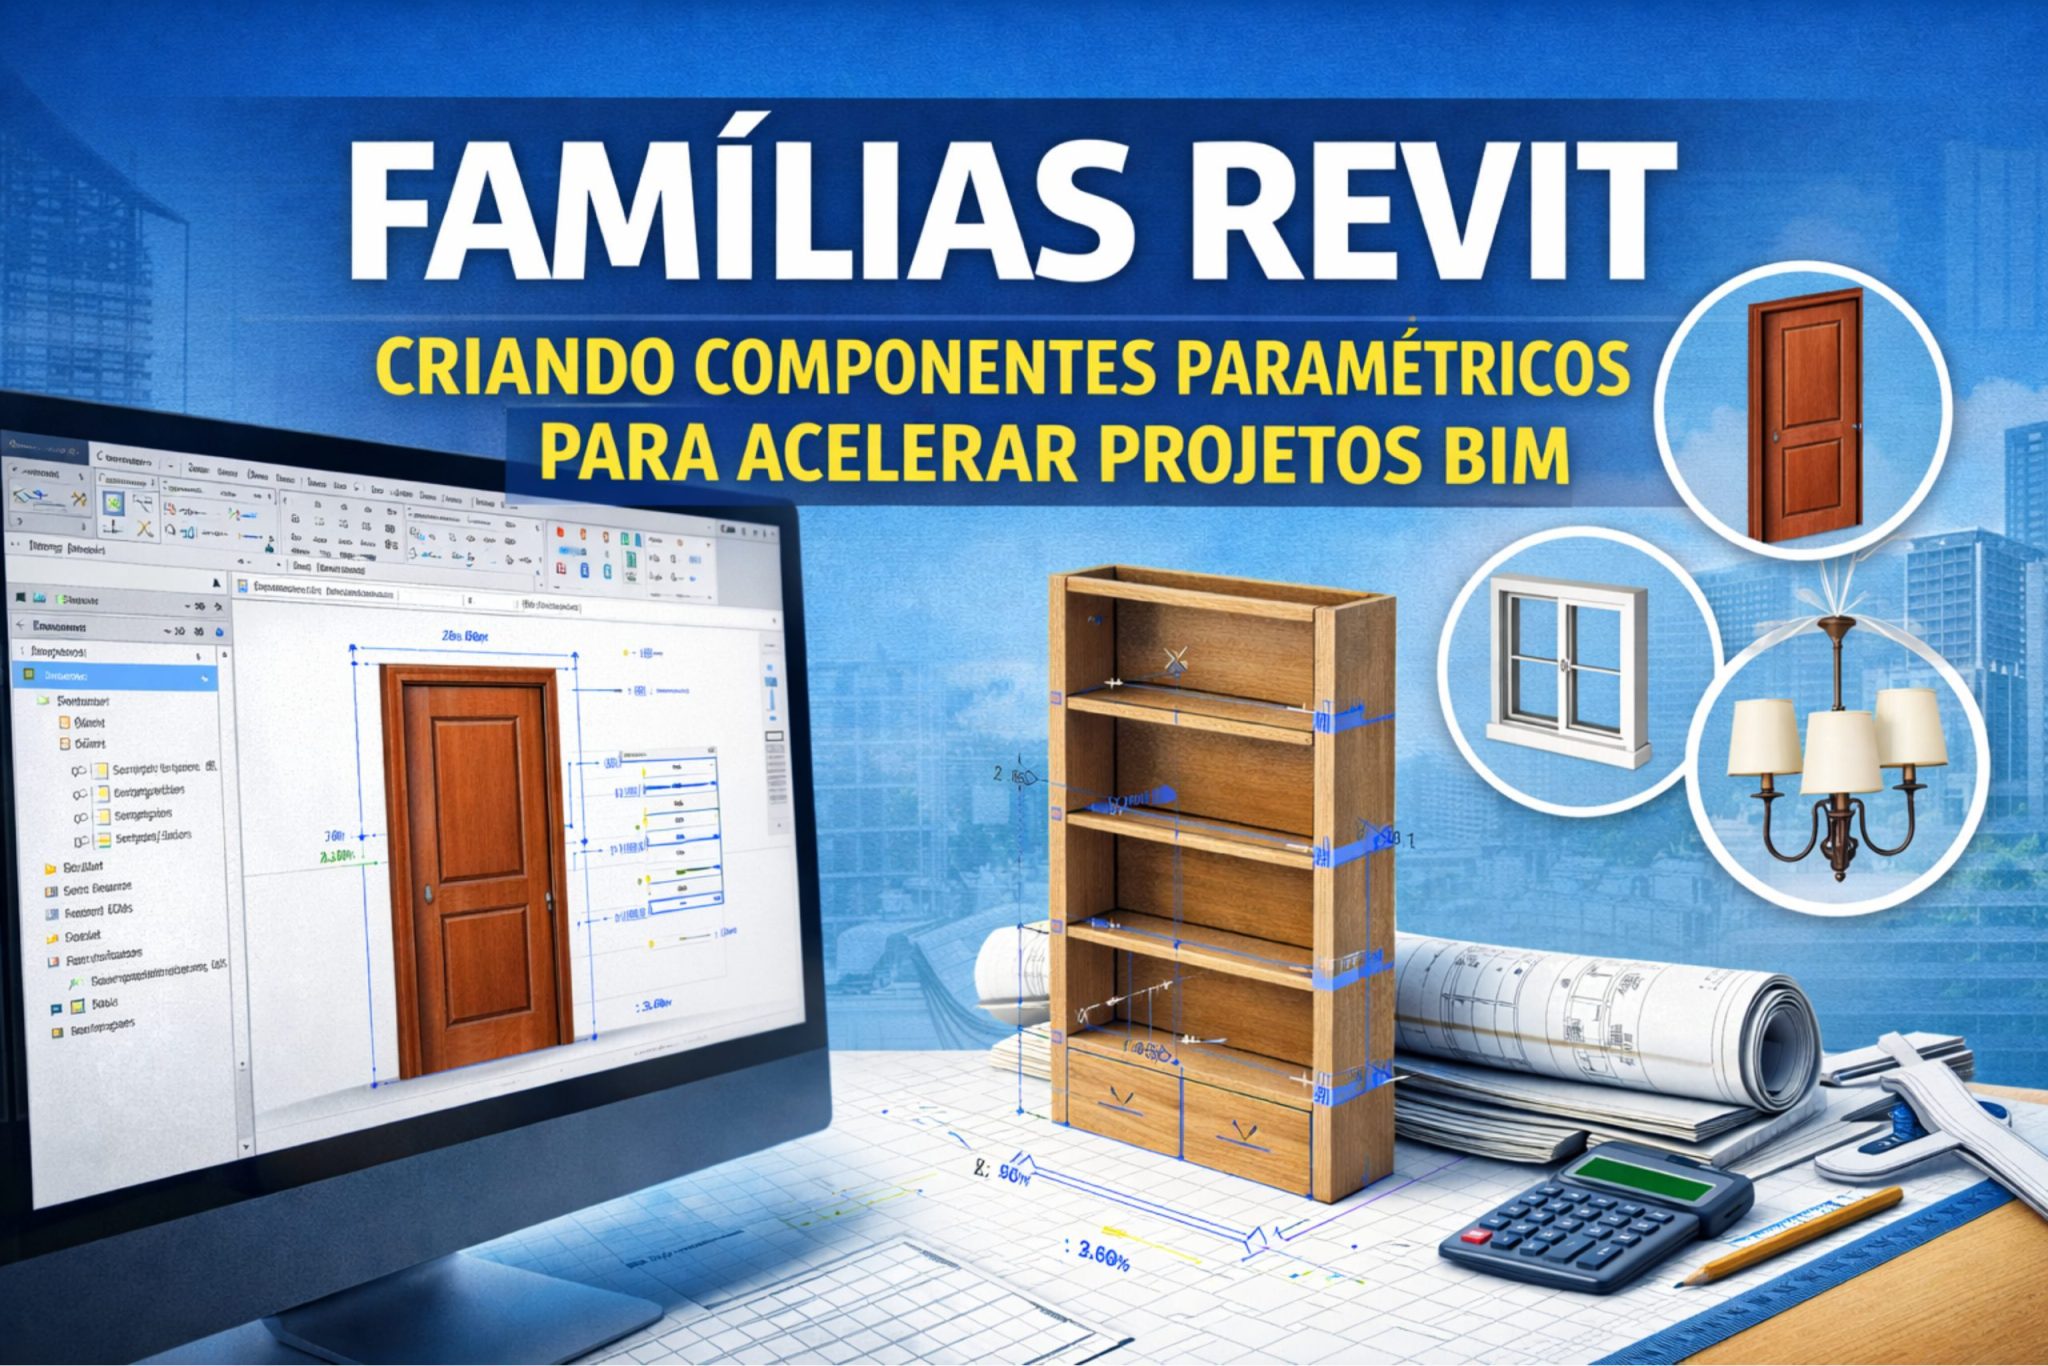











Revit families represent reusable components that concentrate construction intelligence, such as geometry, parameters, and properties, within a single digital model. That way, They function as a "template" that can be applied to countless projects, eliminating hours of repetitive redesign. Consequently, A well-structured family of doors, windows, or furniture dramatically accelerates the development of future projects.
In practice, Professionals who are experts at creating families build their own libraries with thousands of components. Therefore, They achieve levels of productivity that are difficult to compare to those of users who rely solely on generic libraries.
In this context, This guide presents the three types of families available in Revit, the professional creation process, best practices adopted by experts, and the real cost savings achieved with customized libraries.
What are Revit Families? A Practical Definition
Revit families consist of intelligent building components that bring together 3D geometry, configurable parameters, technical properties, and variations into a single reusable file in the format... .rfa. Like this, The same component can be loaded into multiple projects without needing to be recreated.
In contrast, Traditional AutoCAD blocks represent only static geometry. Revit families, on the other hand, exhibit dynamic behavior. This means that, When a parameter is changed, all instances of the element are automatically updated in real time.
Therefore, Modifying the width of a door or the height of a window immediately impacts the entire model, including views, schedules, and quantities.
Productivity Equation
Family creation time (8h) + usage in 50 projects × average savings of 30 minutes per project
Result: 40 hours saved
Return on investment: 5x
In practical terms, The initial investment in having your own library pays for itself quickly. In most cases, This happens in very few projects.
The Three Types of Families in Revit
Revit works with three distinct categories of families. Each of them, in turn, serves a specific purpose within the BIM workflow.
Type 1: System Families
System families are already incorporated into Revit and, for this reason, do not allow creation or editing outside the project environment.
Main features:
• They are integrated into the standard Revit template.
• They do not allow export or import.
• Their behavior is defined by Autodesk.
• Includes walls, slabs, roofs, stairs, ducts and electrical conduits.
For example, When creating a 14 cm thick structural masonry wall, the user defines layers and materials. Nonetheless, However, the structural logic and behavior remain controlled by the software.
Main advantage: full integration and stability.
Main limitation: low customization freedom.
Type 2: Loadable Families
Loadable families are created in external files and, consequently, They offer the highest level of flexibility and reusability.
Main features:
• Created in Family Editor
• Saved in the format .rfa
• Reusable in multiple projects
• Fully customizable
In this group, This includes doors, windows, furniture, light fixtures, and equipment.
For example, a wooden door measuring 80 × 210 cm may have specific parameters such as width, height, material, and cost. Furthermore, Instance parameters control finishing, identification, and location.
As a result, A single family generates dozens or even hundreds of variations without file duplication.
Advantage: maximum productivity and control
Disadvantage: requires technical knowledge and initial development time.
Type 3: In-Place Families (Model In Place)
Families on-site are created directly within the project and, therefore, they are intended for unique elements.
Main features:
• Developed within the project itself
• For exclusive use only for that file
• High level of geometric freedom
• Greater impact on performance
Normally, This type of work caters to architectural sculptures, custom pieces, or non-standard structures.
Advantage: total freedom
Limitation: not reusable and heavier than the model.
Step-by-Step Process: Creating a Rechargeable Family
Step 1: Choosing the Correct Template
First of all, selecting the right template saves time and avoids rework. Furthermore, Each discipline has specific templates that already configure the correct behavior, plans, and categories.
For example, When creating a door, the Door.rft template already establishes essential parameters and insertion points.
Step 2: Define Reference Plans
Next, the reference planes are defined, which structure the family and serve as the basis for all parameterization. Without them, As a result, the family loses predictability and control.
At this stage, Plans are created specifying width, height, center, and maximum limits, always with clear nomenclature.
Step 3: Create the Basic Geometry
With the plans defined, the creation of the geometry begins using extrusion, blending, sweeping, or revolution, depending on the complexity of the element. Initially, It is recommended to keep the geometry simple.
Later, The details are added, preventing performance issues.
Step 4: Add Parameters
Subsequently, the family begins to incorporate intelligence. At that time, The parameters control dimensions, materials, text, and costs.
Furthermore, It is defined whether each parameter will be of type or instance, which directly impacts the flexibility in the project.
Step 5: Link Parameters to Geometry
After creating the parameters, it becomes essential to link them to the dimensions and properties. In this way, Any numerical change automatically recalculates the geometry.
Additionally, Mathematical formulas allow for the creation of hierarchical relationships between elements, increasing the level of automation.
Step 6: Configure Visibility and Level of Detail
Not all details need to appear on all scales. That's why, Properly configuring visibility improves both performance and graphic clarity.
While Larger scales display only overall volumes., smaller scales They show construction details.
Step 7: Test and Validate
Before saving, testing the family avoids future problems. In this process, Minimum and maximum limits are adjusted, formulas are validated, and geometric conflicts are checked.
Often, This step saves hours of corrections within the project.
Step 8: Save and Load into Project
Finally, the family is saved with standardized nomenclature and carried over into the project. From that moment on, It will then become part of the permanent library.
Proven Economics of Customized Libraries
The numbers confirm the strong return. Initially, However, developing a library requires an investment of time. Nonetheless, After about 10 projects, the return becomes evident.
In the long term, Each new project generates net savings in hours, transforming the library into a strategic asset.
Limitations and Challenges
Despite the benefits, creating families requires a learning curve, attention to performance, and compatibility between Revit versions. Even so, These challenges become secondary in the face of the gains achieved.
Conclusion: Libraries are strategic assets.
Well-structured Revit families transform the software into a high-performance tool. As a result, Offices that master this practice achieve a clear competitive advantage.
While Professionals without a library system work reactively., teams with mature libraries They operate with speed, consistency, and predictability.
Therefore, Investing time in family development doesn't cost anything. In reality, This is a strategic decision.